> For the complete documentation index, see [llms.txt](https://apps.sanomads.com/slice-n-save/llms.txt). Markdown versions of documentation pages are available by appending `.md` to page URLs; this page is available as [Markdown](https://apps.sanomads.com/slice-n-save/use-cases/quantity-breaks.md).
# Quantity breaks
How to create **quantity break discount** for the customers on your Shopify store using the **Quantity breaks** option? A simple walkthrough.
{% embed url="" %}
## Guide
1. Create a new [**Discount**](https://admin.shopify.com/apps/slice-n-save/discounts).
2. Select the **Quantity breaks** option from the given list of discount types.
3. Select **method** and **title** for the discount.
4. Add multiple **breakpoints** to manage the quantity breaks on the order subtotal. Mention the minimum & maximum quantity along with the discount value for each breakpoint.
5. Add multiple **conditions** to handle the validation of the quantity break discount on the cart and checkout page.
6. Add multiple **criteria** to handle the validation of the discount at product level. It filters the valid products based on the criteria.
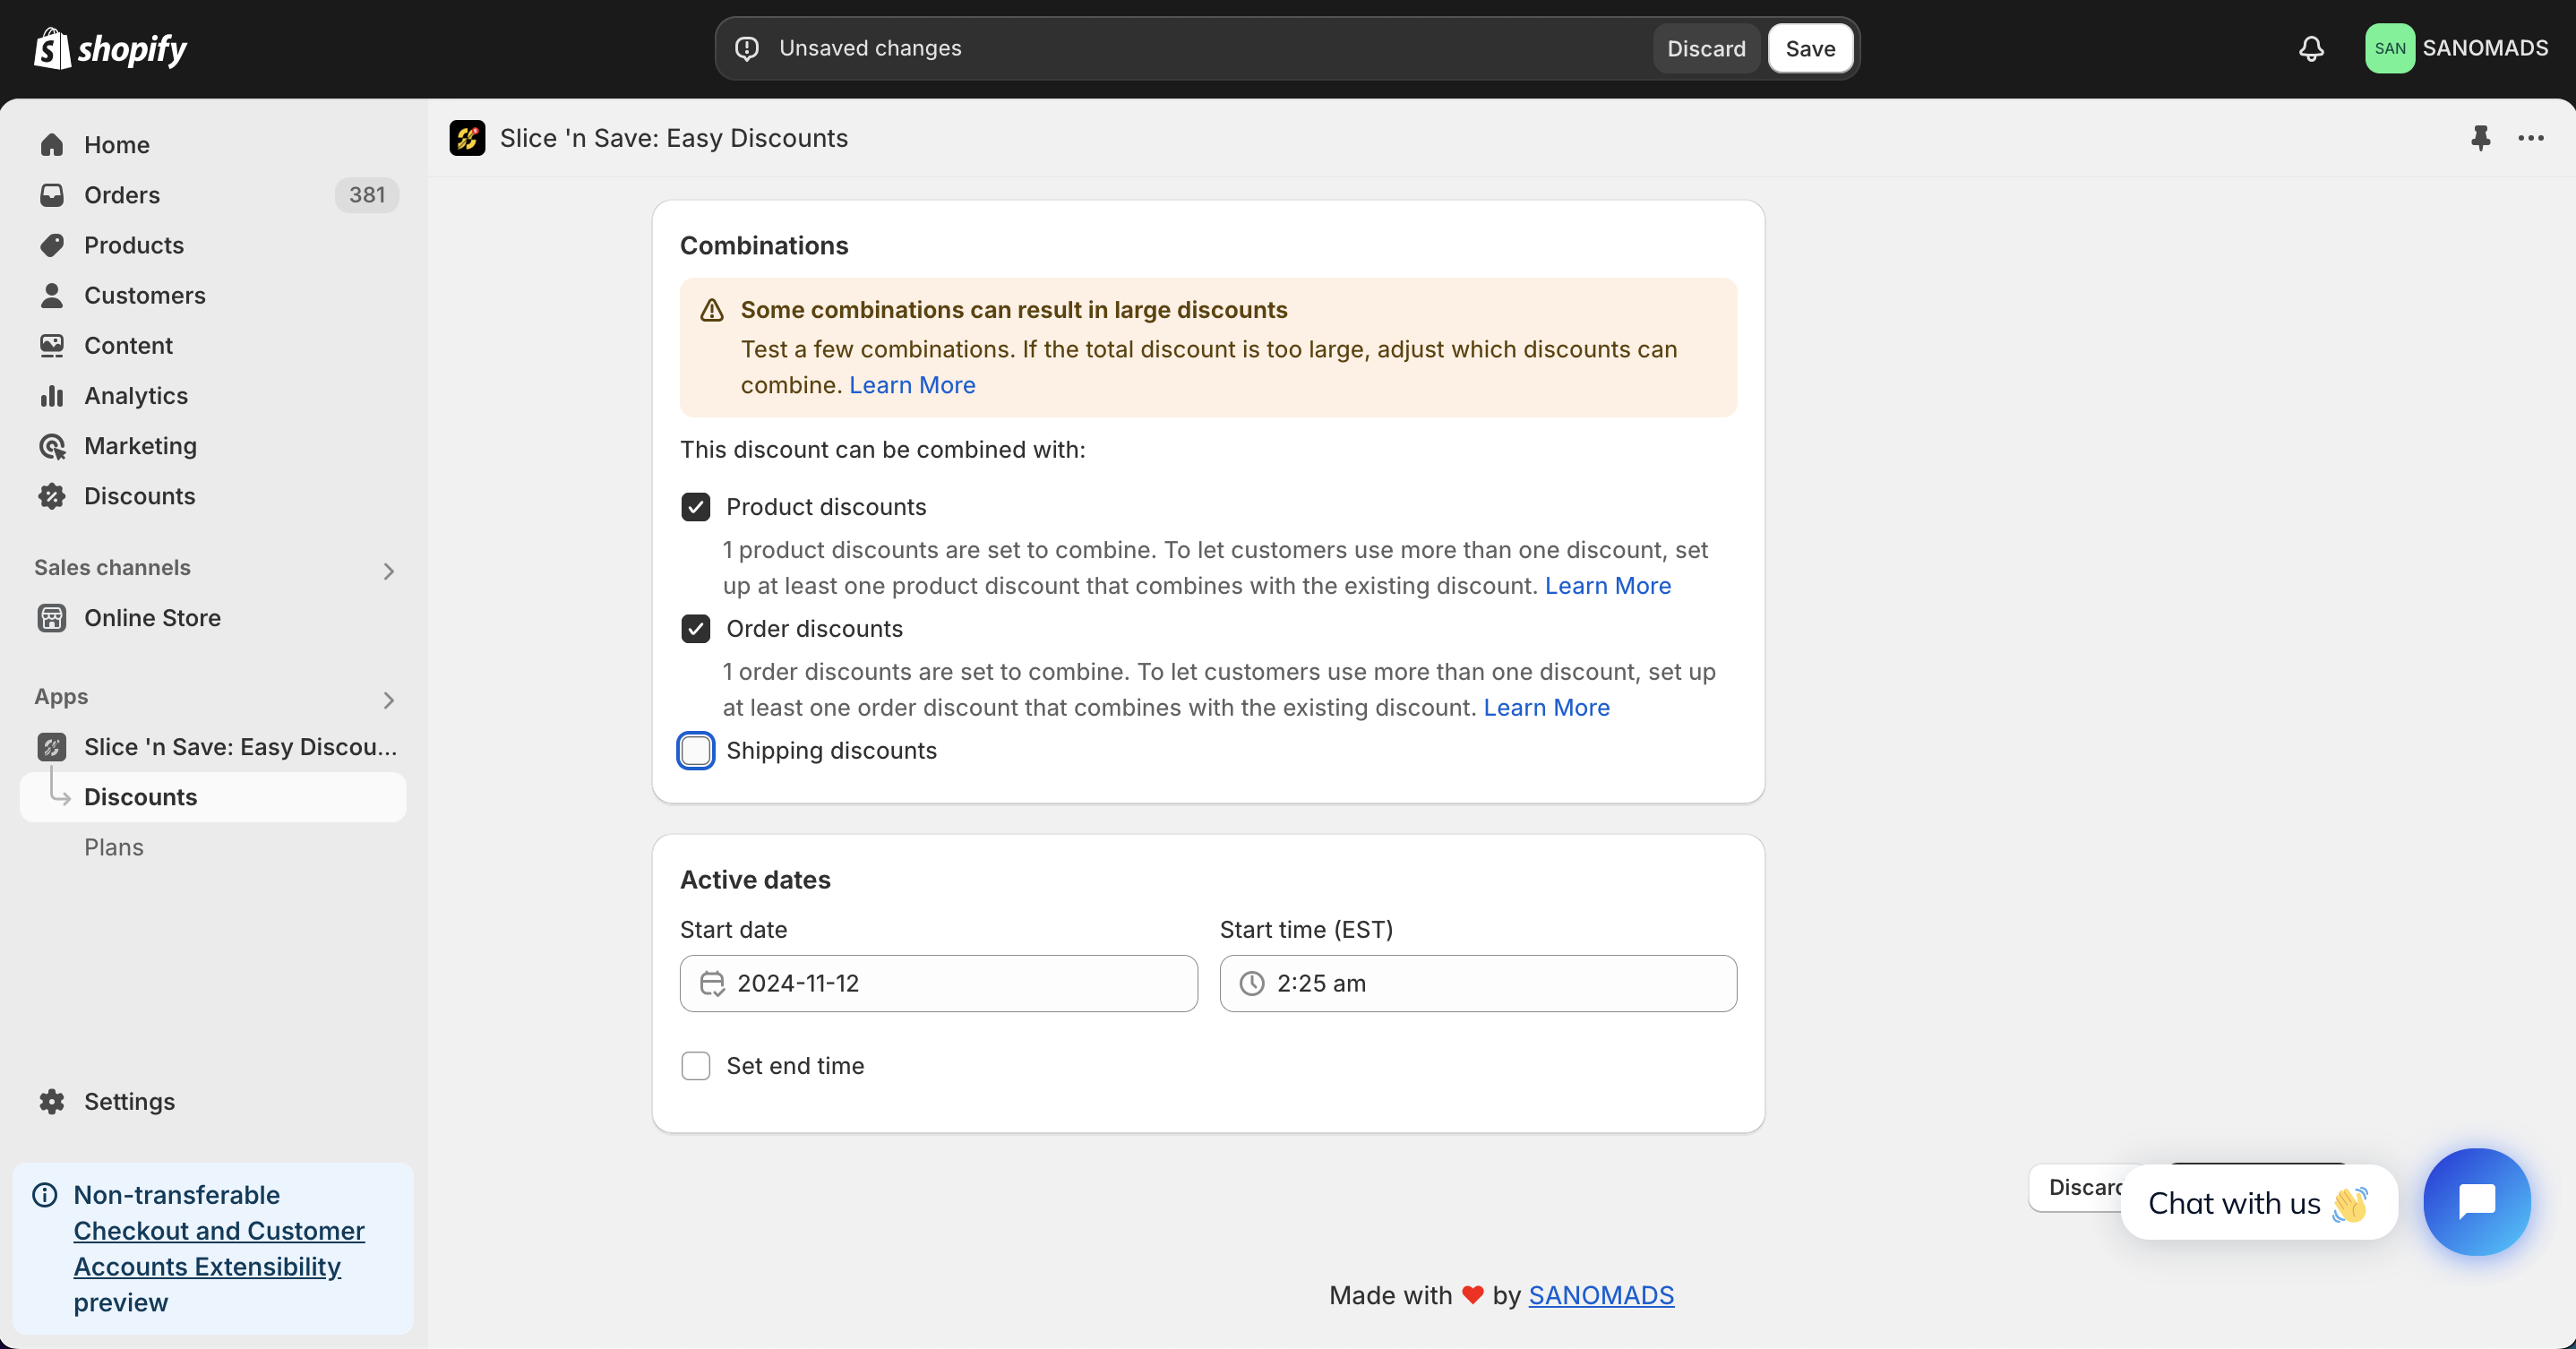
7. Discounts can be applied in **combination** with other discounts which are created using Slice 'n Save app.
8. For scheduling a discount, change the **active dates** to any future date or time.
9. Adjust the markets from the **manage markets** section for discount eligibility.
10. Click on **Save** button to save the discount.