> For the complete documentation index, see [llms.txt](https://apps.sanomads.com/dynamic-checkout-customizer/llms.txt). Markdown versions of documentation pages are available by appending `.md` to page URLs; this page is available as [Markdown](https://apps.sanomads.com/dynamic-checkout-customizer/use-cases/custom-fields.md).
# Custom Fields
How to display **Custom Fields** for the customers on the Checkout using the **Notifications -> Form** option.
{% embed url="" %}
## Guide
1. Create a new [**customization**](https://admin.shopify.com/apps/dynamic-checkout-customizer/customizations).
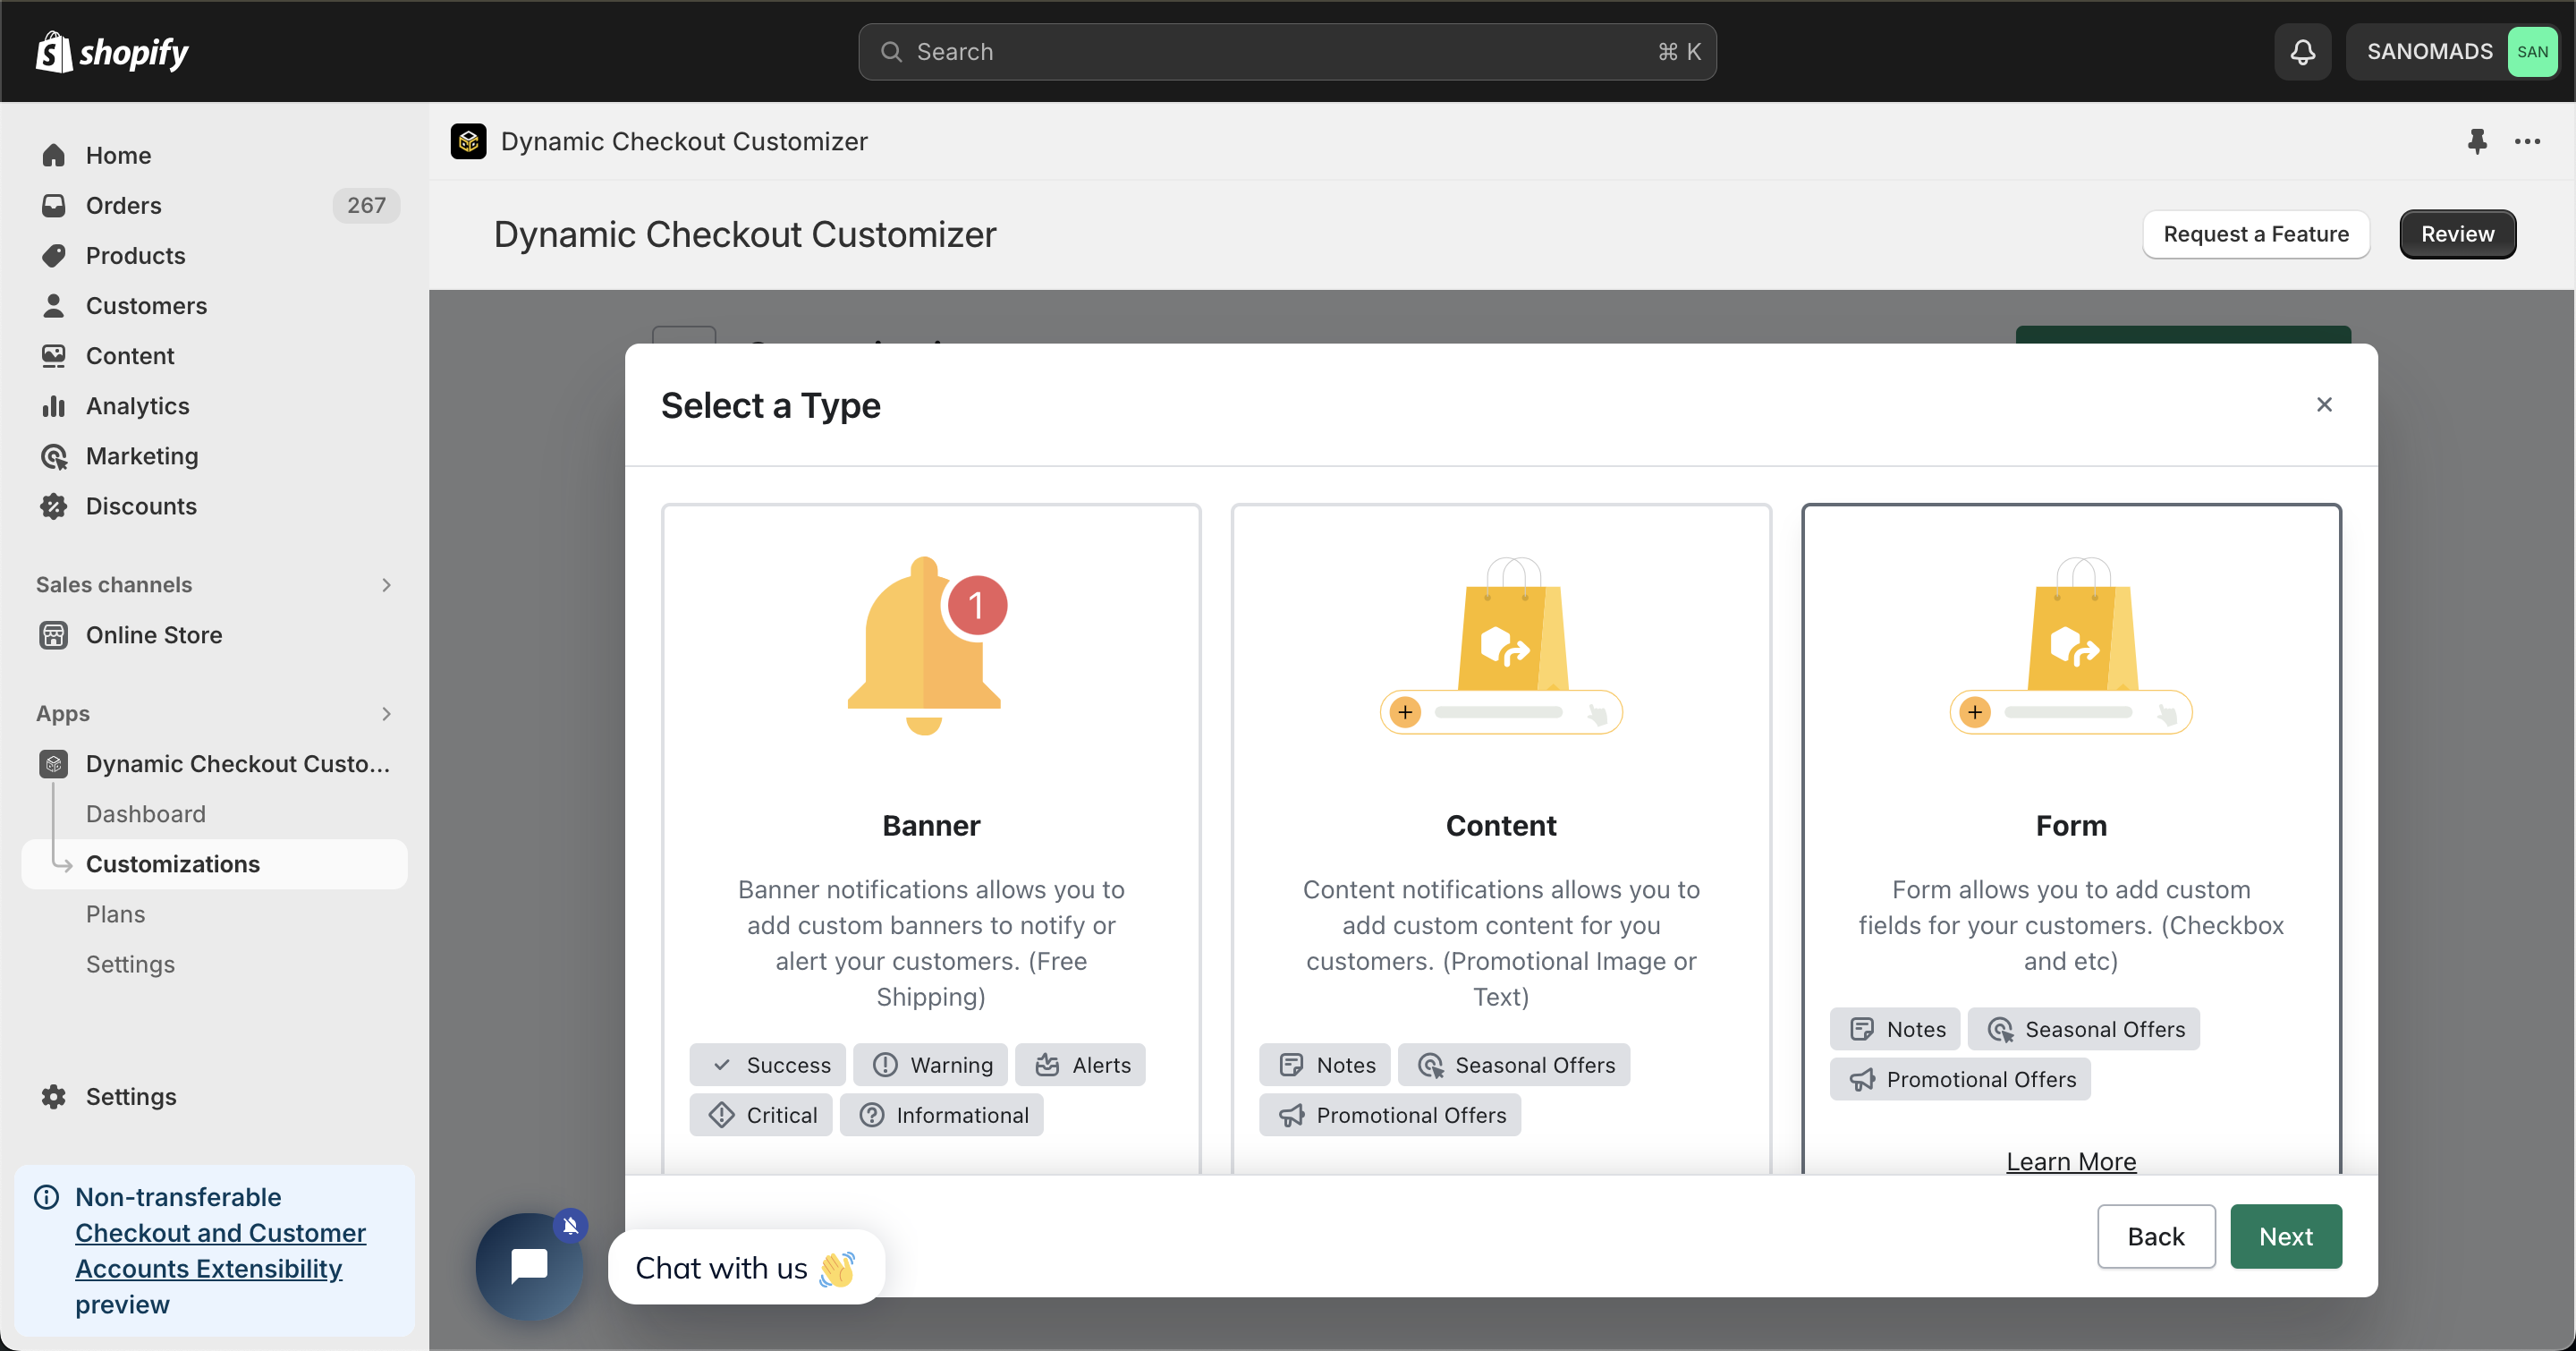
2. Select the **Notifications** category.
3. Select **Form**, a notifications type from the options for displaying the form elements on the checkout.
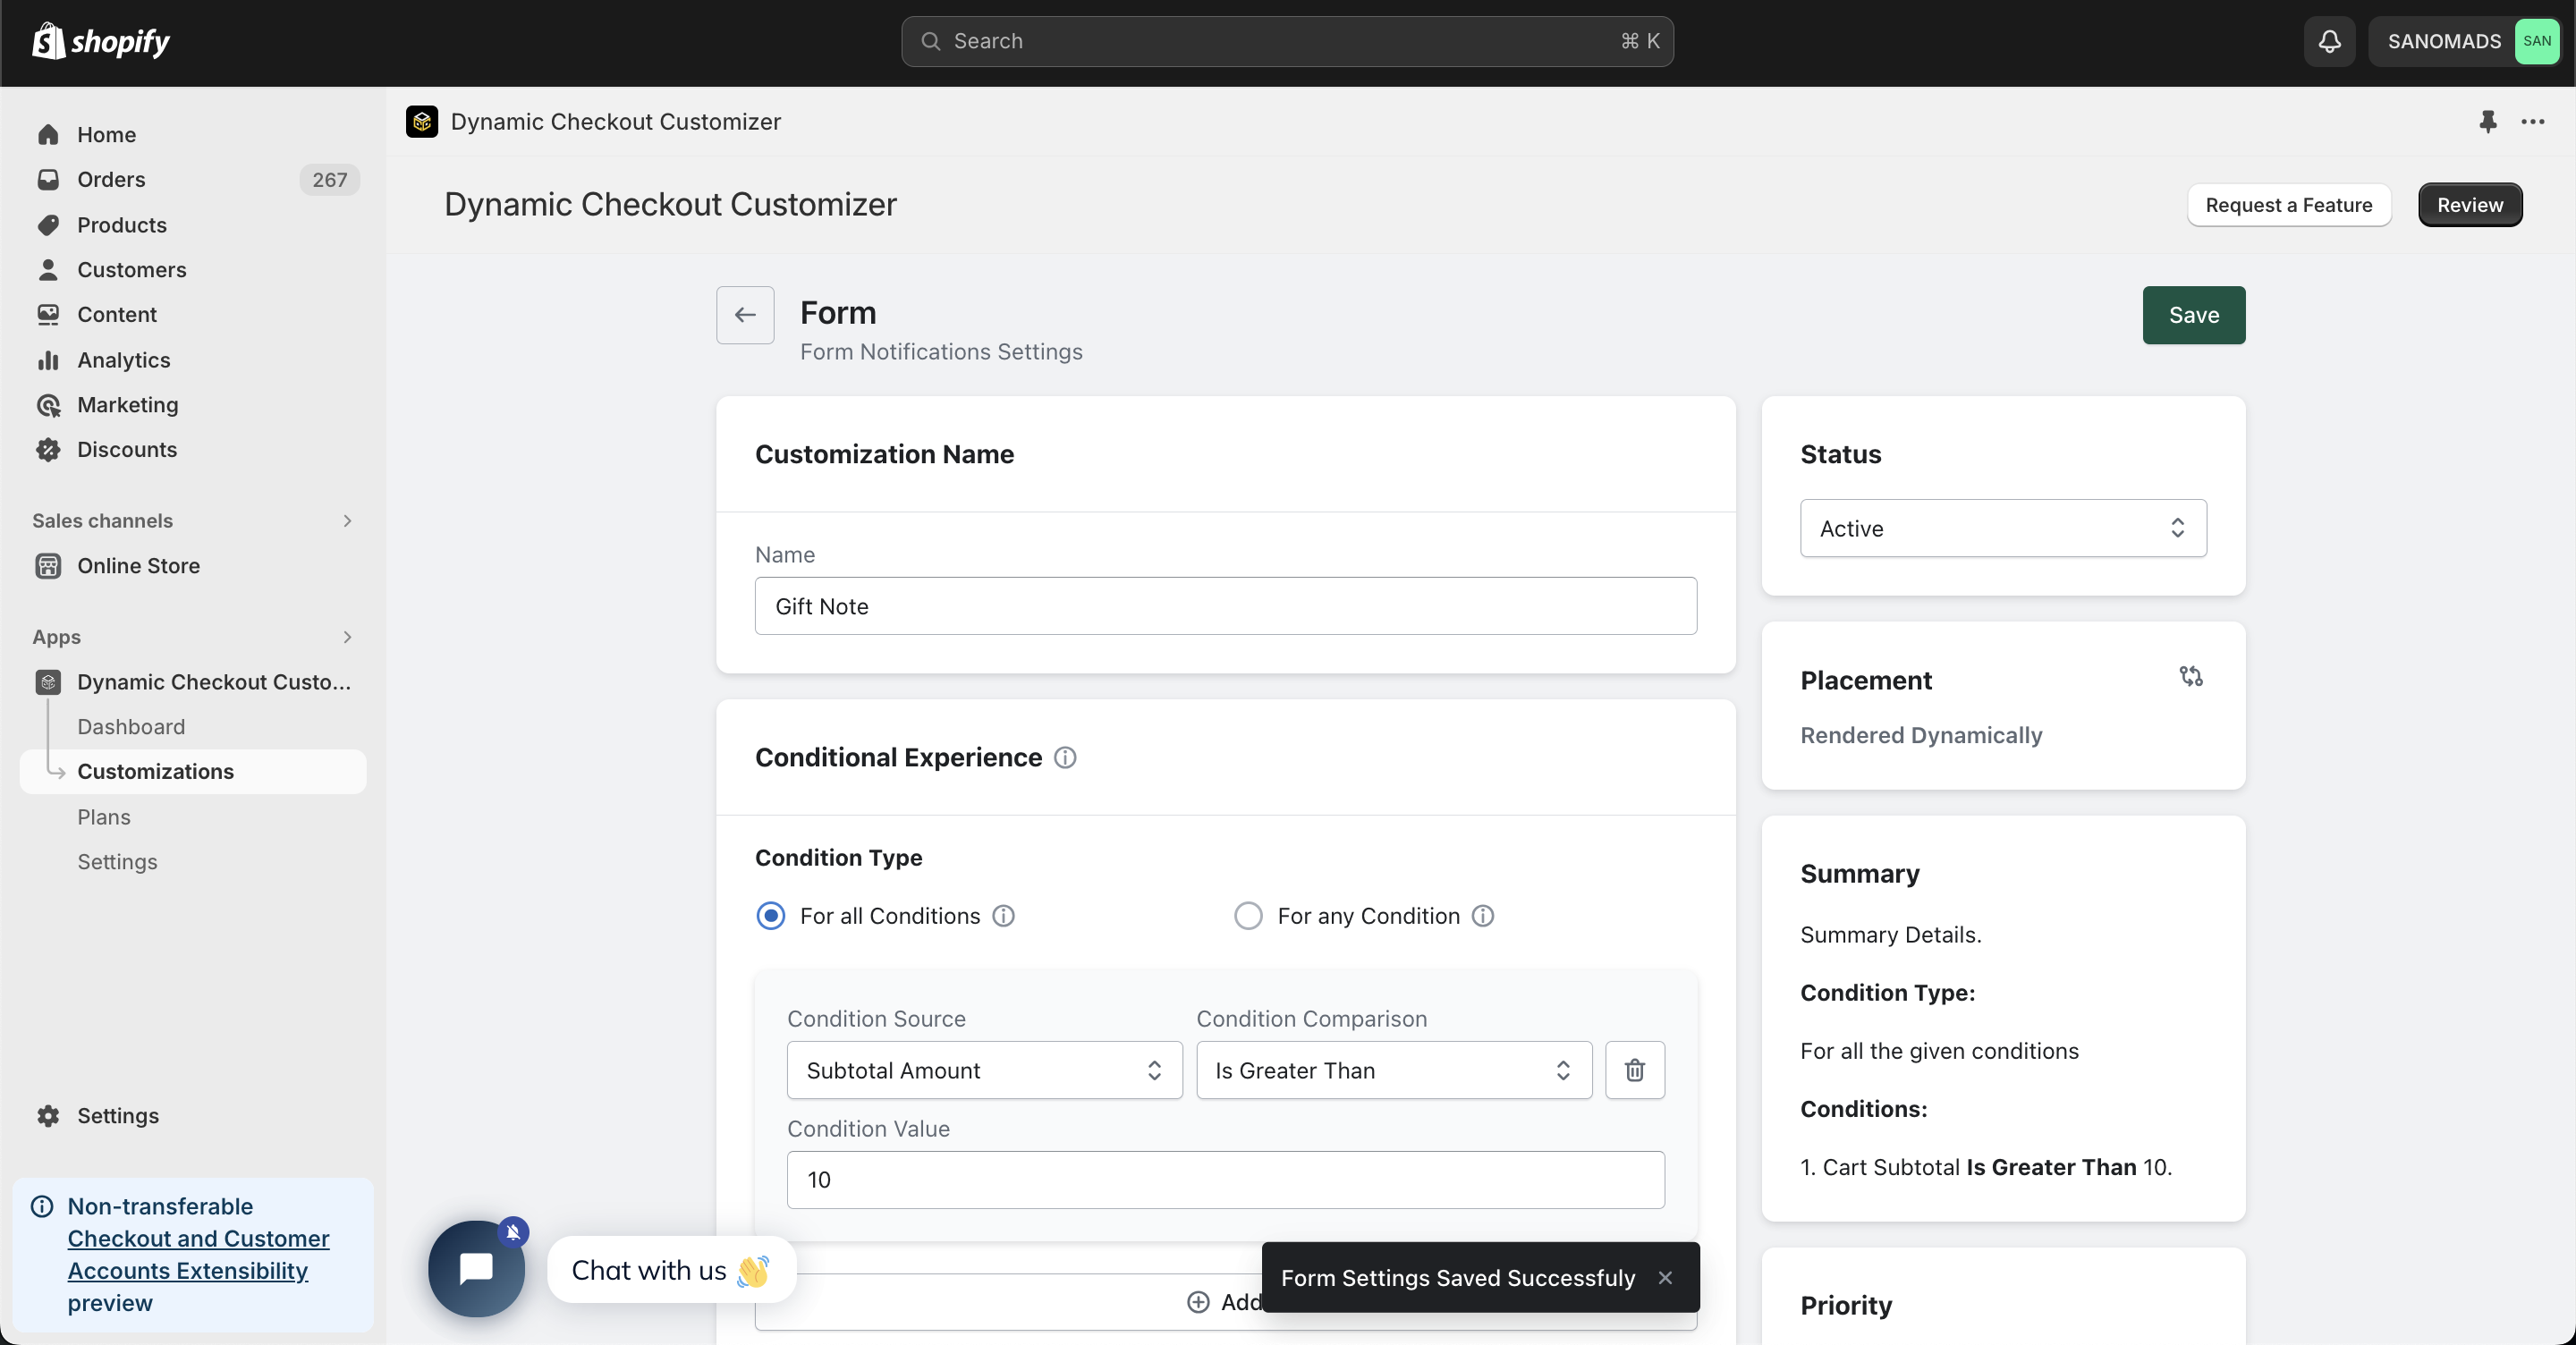
4. Select **Dynamic Render** option from the given placement options.
5. Add multiple **conditions** to handle the visibility of the customization on the checkout.
6. Adjust the **Form settings** for the form customization block which includes element type (**Checkbox** & **Text Field**), **label** for each form element, **key** for saving the value in the Order details and **block checkout** to reject checkout if the field is empty.
7. Change the **status** to active to enable the customization block.
8. Adjust the **priority** between 0 to 100 to cover multiple use cases for the customizations.
9. In the **placement** tab, copy the placement ID which will be used on the checkout page.
10. Click on the **Save** button to save the changes.
11. Go to store [**Settings**](https://admin.shopify.com/settings), click Checkout and then select a checkout profile and click on **customize** button to start the customization process.
12. In the [**Checkout editor**](https://admin.shopify.com/settings/checkout/editor), click on the **Add app block** button located at the bottom left corner of the page.
{% hint style="info" %}
Make sure you that you have placed the app block at the same placement as selected in the app.
{% endhint %}
13. Select the **Checkout - Form Elements** app block, drag and drop the app block at the desired location and paste the placement ID to view the customization block.
14. Click on the **Save** button to publish the changes live for the customers.
## Why does it matter?
[Sunco](https://www.sunco.com/) is using **Notifications -> Form** customization for displaying Custom Fields and improved their Brand Reputation by **10%**.